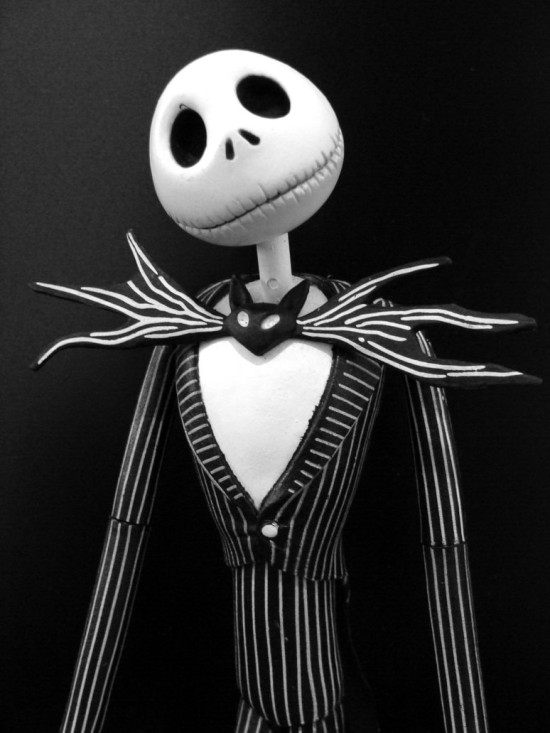
DIY Jack Skellington Costume
What You’ll Need:
- Black long sleeved tee
- Black pants
- White fabric paint
- One wide paint brush
- Black felt, 2 squares
- One button, optional
Step One:
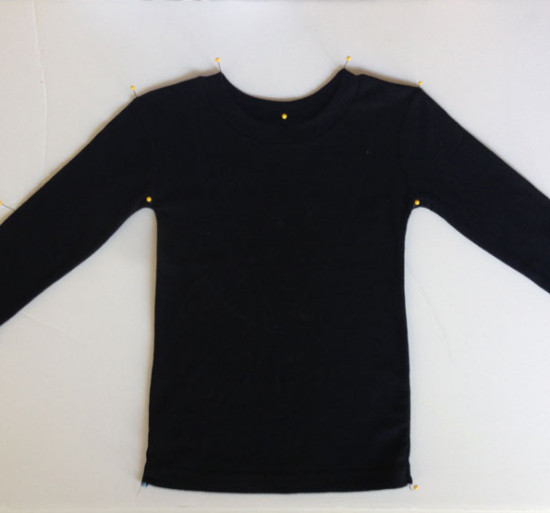
Spread the shirt and pants out smoothly on a foam board, securing the outer edges with sewing pins. This will keep the garments flat while painting, and allow you to rotate the pieces while working. After applying paint, you can move the entire foam board out of the way, like on an upper shelf, to store during drying time.
Step Two:
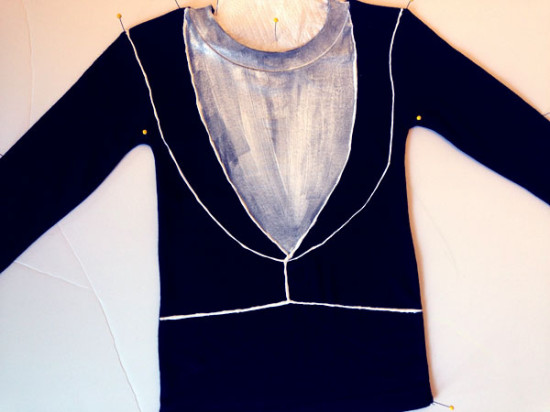
Outline lapel and bottom seam of the “tuxedo jacket” with white fabric paint.
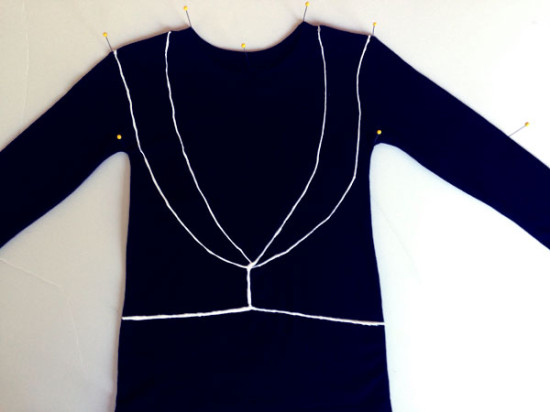
Stick a folded paper towel in the top of the shirt collar to prevent the top collar from sticking to the back of the shirt as you paint. Using a wide paintbrush, use the fabric paint to fill in “shirt.” You’ll probably need to do more than one coat to make the “shirt” look opaque, let the coats dry completely before reapplying.
Stop Three:
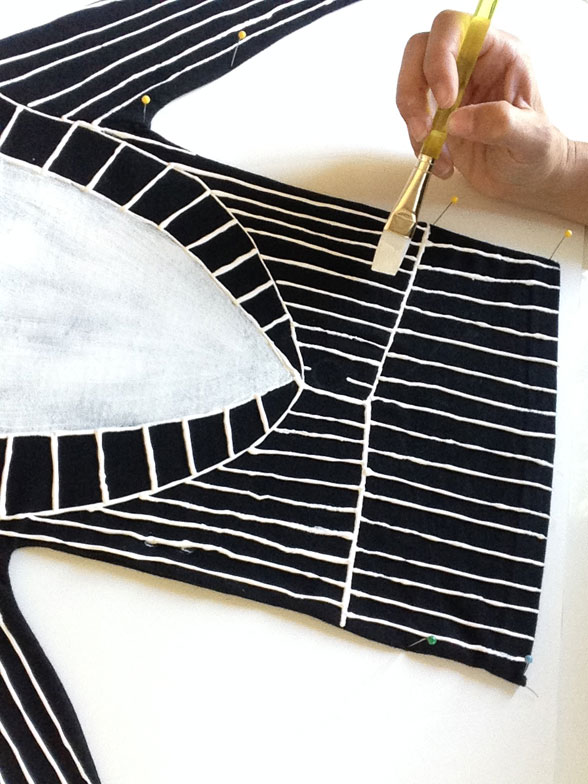
Paint the white “pinstripes” in long, even strokes down the body and arms of the shirt. The pinstripes on the lapel should be painted in perpendicular lines, going from center of the “shirt” out toward the body of the “jacket.” Paint another coat of white on the “shirt.”
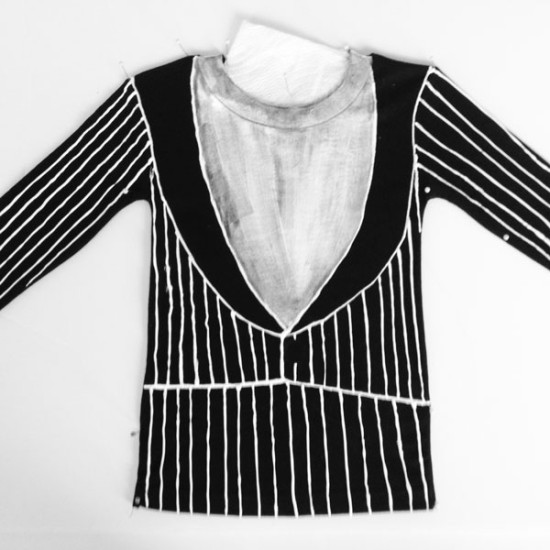
Leave a little space where the “lapels” for a jacket button. Sew the button onto the shirt when paint is completely dry. I used a fabric covered button that I painted with fabric paint, but you can always get the same effect by simply paint a round button shape where the “jacket” seams meet.
Step Four:
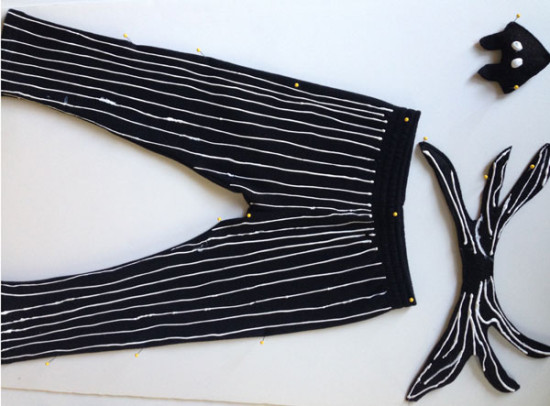
To create Jack’s bat bowtie, drawn both a bat wing and head shape on a piece of paper to use as a template. Lay the templates atop the two squares of black felt and cut out the shape about a half inch wider than your template for seam allowance. Pin one of each to your foam board, (one bat wing and one bad head), to prep for painting. Create horizontal lines across the bat wings, and two white dots for eyes on the face. Let dry completely. Using the same technique as before, paint vertical pinstripes on the pants.
Step Five:
Lay the top of the bat wings on the bottom layer, and stitch all around the outer edges. (If you’re feeling extra crafty, leave an opening at the bottom to insert wire in each falange. This will allow you to bend and shape each section of the wing as you like. Sew opening closed.) With the two bat head pieces together, stitch outer edges 3/4 of the way around. Before closing the seam, insert cotton balls or fabric scraps to give the head volume. Sew the opening closed. Stitch the head to the center of the bat. Attach to shirt with thread and needle or with a large safety pin.

Final Touches:
I painted Rhys’s face with white and black face makeup from MAC and used black liquid liner to draw in Jack’s skeleton smile.
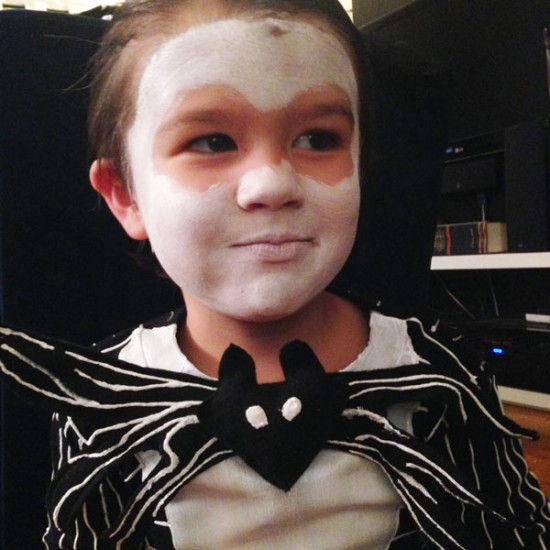
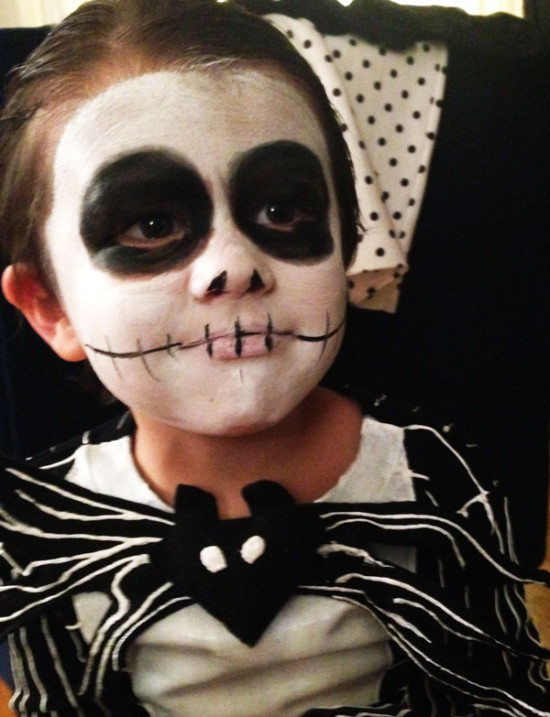
The Final Look:
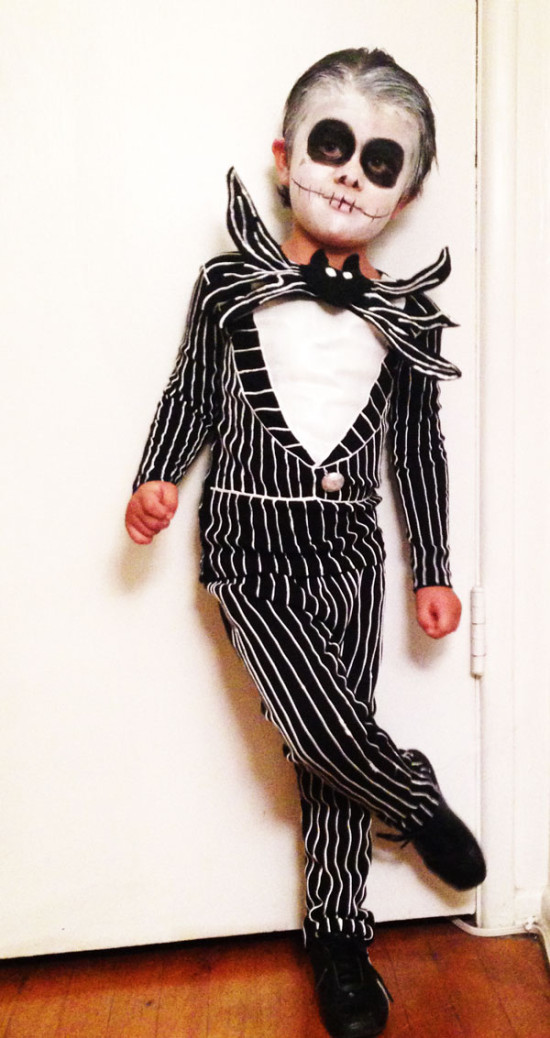
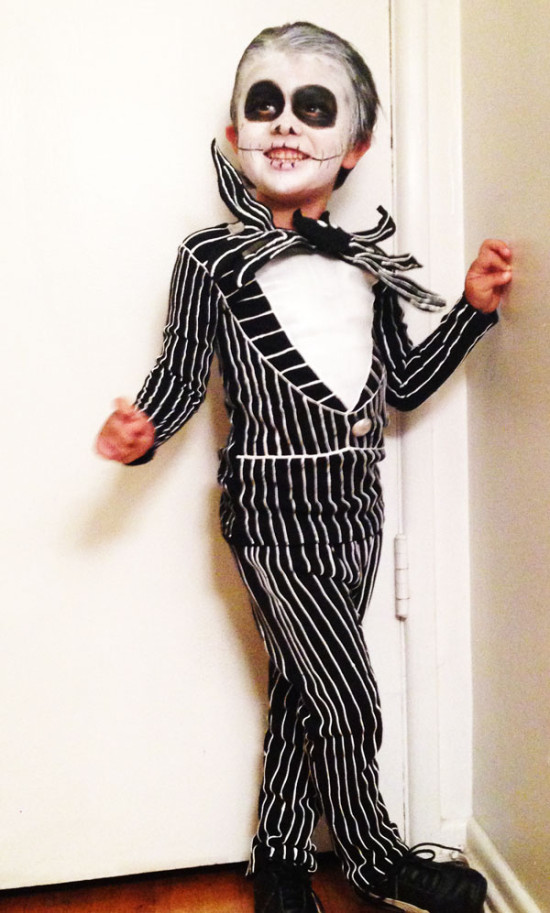
Happy Halloween, everyone!




 but were purely for presentation. Stickers all remained in packaging, treated like artwork, not decoration.
